Dig Clean Museum Guide
Turn cleaned rares into a Dig & Clean showcase.
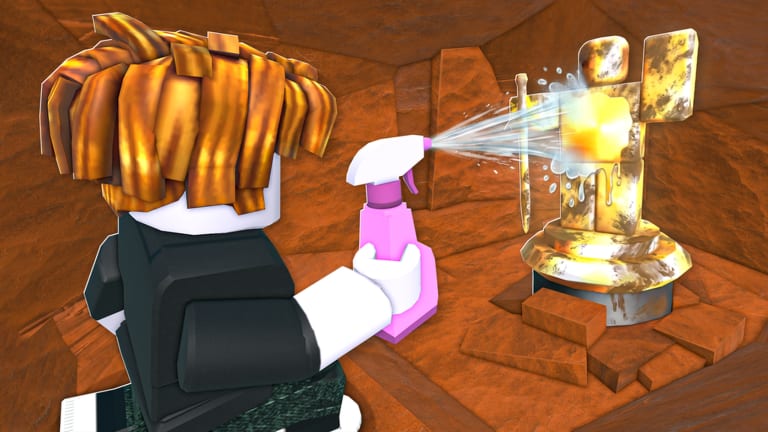
The Dig Clean museum is the long-term identity of Dig & Clean. Official Roblox copy invites you to show off your best finds after digging and spraying them clean. This guide explains what deserves a pedestal, what should become upgrade cash, and how museum thinking improves every Dig Clean session.
Why Dig Clean museum displays matter
A museum turns random digs into a collection goal. Instead of only chasing cash, you hunt specific reveals that complete themes — shiny junk-turned-treasure, oddities, and high-rarity centerpieces. That goal keeps Dig Clean sessions structured when the early economy feels repetitive.
Dig Clean museum workflow
- Dig dirty finds (How to Dig).
- Clean fully (How to Clean).
- Evaluate rarity with Items and Best Finds.
- Place first-of-kind or high-impact rares in the museum.
- Sell duplicates for shovel/spray upgrades.
- Track gaps with the museum checklist tool.
Dig Clean display rules of thumb
- First rare of a type → display unless space is critical.
- Duplicate common rare → sell for progression cash.
- Visually unique find → display; Dig Clean is a reveal game, and looks matter.
- Unknown future value → keep one spare in inventory if slots allow.
Dig Clean museum and economy balance
Players who display everything stagnate on starter tools. Players who sell everything have empty museums. Balance is the Dig Clean skill. After each clean batch, ask: “Does this improve my museum story more than a tool upgrade would?” If your shovel is painfully slow, cash wins. If tools are fine and shelves look empty, display wins.
Use progression and tier lists when the answer is unclear.
Dig Clean museum goals by phase
Early Dig Clean: 3–5 proud pieces that prove you understand cleaning.
Mid Dig Clean: Theme shelves (materials, oddities, color stories).
Late Dig Clean: Island-specific trophies after reading Islands.
Dig Clean museum mistakes
- Selling before cleaning
- Filling shelves with identical junk
- Ignoring spray upgrades so rares stay undiscovered
- Copying DIG museum myths that do not apply here
Related Dig Clean museum links
Pair this guide with How to Get Rare Items, Items Overview, and Review if you want a broader Dig Clean opinion piece. Your museum is the screenshot moment — build it on purpose.
Dig Clean museum layout tips
Group items by theme rather than random shelves: metals together, funny junk together, island trophies on a dedicated wall. Themes make screenshots share-worthy and help you notice missing categories to hunt.
Dig Clean museum and social flex
Friends who visit your plot read museum quality before shovel tier. A curated small museum beats a cluttered maxed shelf of commons.
Dig Clean rotating displays
Swap mid-tier pieces seasonally when you find better versions. Selling outdated display dupes funds upgrades that unlock rarer centerpieces.
Dig Clean museum visitor test
Ask whether a stranger could tell what game you play from one screenshot of your shelves. If not, add one signature rare or themed row — museum clarity beats random clutter every time.
Frequently Asked Questions
Quick answers to the most common Dig Clean questions.
How do I put items in the Dig Clean museum?
Clean the find first, then use the museum/display interaction in Dig & Clean to place showcase pieces.
Should I museum junk items in Dig Clean?
Only if they are funny, unique, or part of a theme. Most junk should become upgrade cash.
Does the Dig Clean museum give power?
Treat it as collection progress and motivation. Tool upgrades still drive dig/clean speed.
How many Dig Clean museum pieces should beginners aim for?
Three to five cleaned rares or unique finds prove you understand the loop — expand from there.
Should I museum every island trophy in Dig Clean?
Keep the best version of each type; sell duplicate island dupes unless you are building a set display.